First thing we need to do is create a database on our web server for our Joomla website. Launch a web browser and login to your cpanel.
- Launch your web browser and type in your web address followed by cpanel. For example: http://www.bc-condos.ca/cpanel.
- Enter your username and password and click Ok. (The username and password was supplied by your web hosting company).
- You should now be in your cpanel as illustrated below. For security reasons the left portion of the window has been cut out.
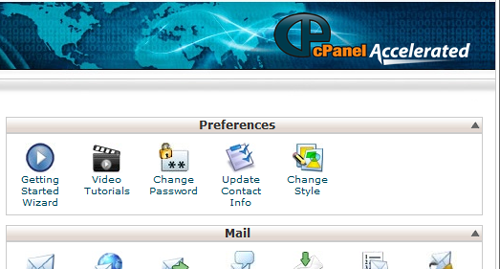
Now that we are logged into our cpanel let’s create the database.
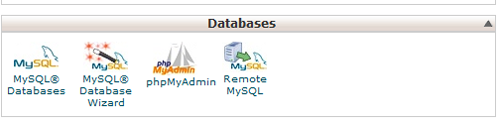
- Scroll down the cpanel list until you see Databases
- Click on MySQL Database Wizard as illustrated below.
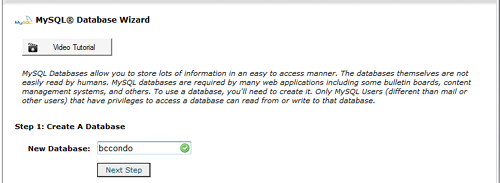
The next step is to give the database a name. I chose to type in bccondo as illustrated below. You can type any name in here you like, I just chose the name of a business. When finished click Next.
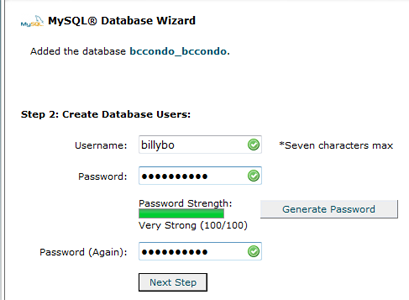
The next step is to create a user and a password for the database we just created as illustrated below. Make sure you use a strong password for this step. A strong password consists of upper and lower case letters as well as numbers. View how to create a secure password for more info. When finished click Next.
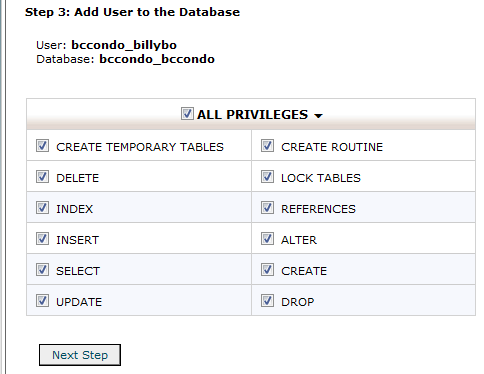
The next step is to add the new user to the database. Select All Priviledges as shown in the illustration below. Please take note at this time to notice the database name and the name of the database user as shown below. You will need this information later on. Notice the database name is bccondo_bccondo and the database username is bccondo_billybo. When finished click Next.
Congratulations you have successfully created a database. Give yourself a pat on the back. This would be a good time to grab a coffee.
- Next, you need to backup your current sql database on your local machine. We will do this procedure from phpmyadmin. Launch your web browser and navigate to this url http://localhost/phpmyadmin
- Next select the database you wish to backup as shown below in the illustrat
ion.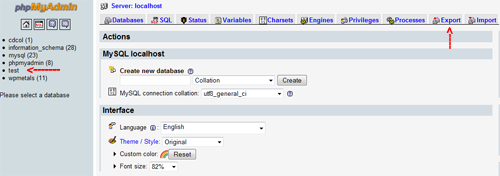
- Next, click on the Export tab, then scroll down and select the check-box Save as file. Next, click on Go you will then be prompted to save the database in sql format. Sve it to your downloads folder or a folder of your choice.
- Next, log back into your CPanel on your web server. Click on phpMyAdmin Click on the database in the left pane that you created earlier and then click on Import. Click the browse button and select your database backup that you created earlier in the tutorial. Next, click on Go.
Next, launch your FTP program and upload all your Joomla files to the root directory or a directory of your choice on your web server.
For the final step we need to edit the configuration.php file that resides in the root directory of our web site. The file contains settings specific to your system. The configuration.php file was created when you installed Joomla on your local computer. The settings in the configuration.php file that you typically need to change are listed below:
var $log_path = 'C:\\xampp\\htdocs\\web\\logs';
var $tmp_path = 'C:\\xampp\\htdocs\\web\\tmp';
var $live_site = '';
var $host = 'localhost';
var $user = 'root';
var $db = 'your_local_db_name';
var $password = 'your_local_db_password';
Change the above values in the configuration.php file to the values you see listed below:
var $log_path = '/home/cpanelusername/public_html/logs';
var $tmp_path = '/home/cpanelusername/public_html/tmp';
var $live_site = '';
var $host = 'localhost';
var $user = 'cpanelusername_name';
var $db = 'cpanelusername_name';
var $password = 'yourdbpassword';
Note: The host value is usually localhost.
We are now finished moving our web site to a live web server. If you have any questions please feel free to leave a comment.
